

How to Make Decorative Orbs
Ever have a project turn into more than you bargained for?
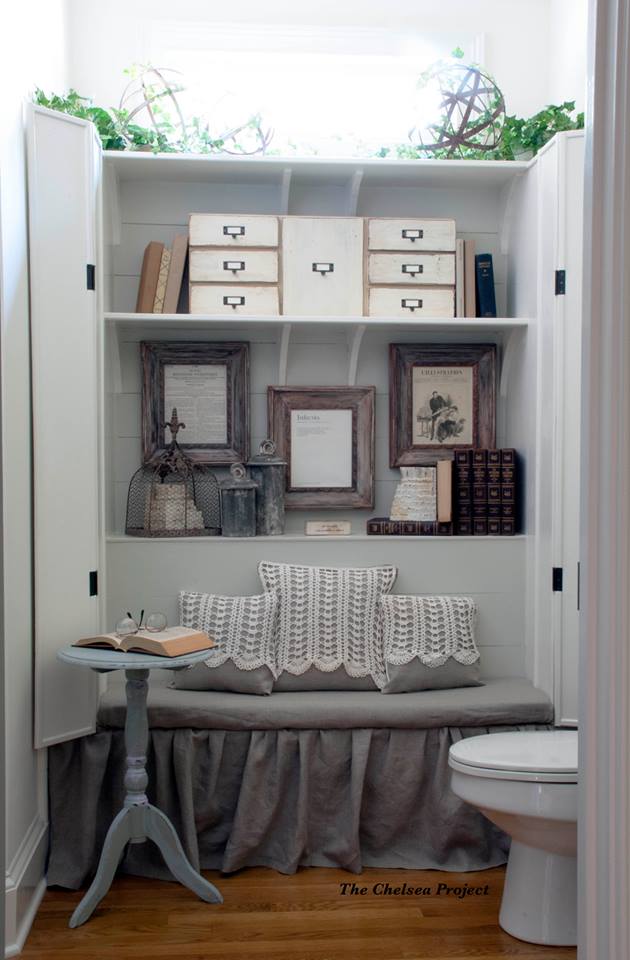
Well, I hear ya. This is exactly what happened during my recent powder room refresh. Thirteen DIY projects later, I was finally done. But, along the way, something wonderful happened. Wonderful, yes, because I learned, among other things, how to make decorative orbs.
And, honestly, it only takes a few minutes and a couple of wooden embroidery hoops. Yea, I know! Who knew?
So, here’s how the magic happens:
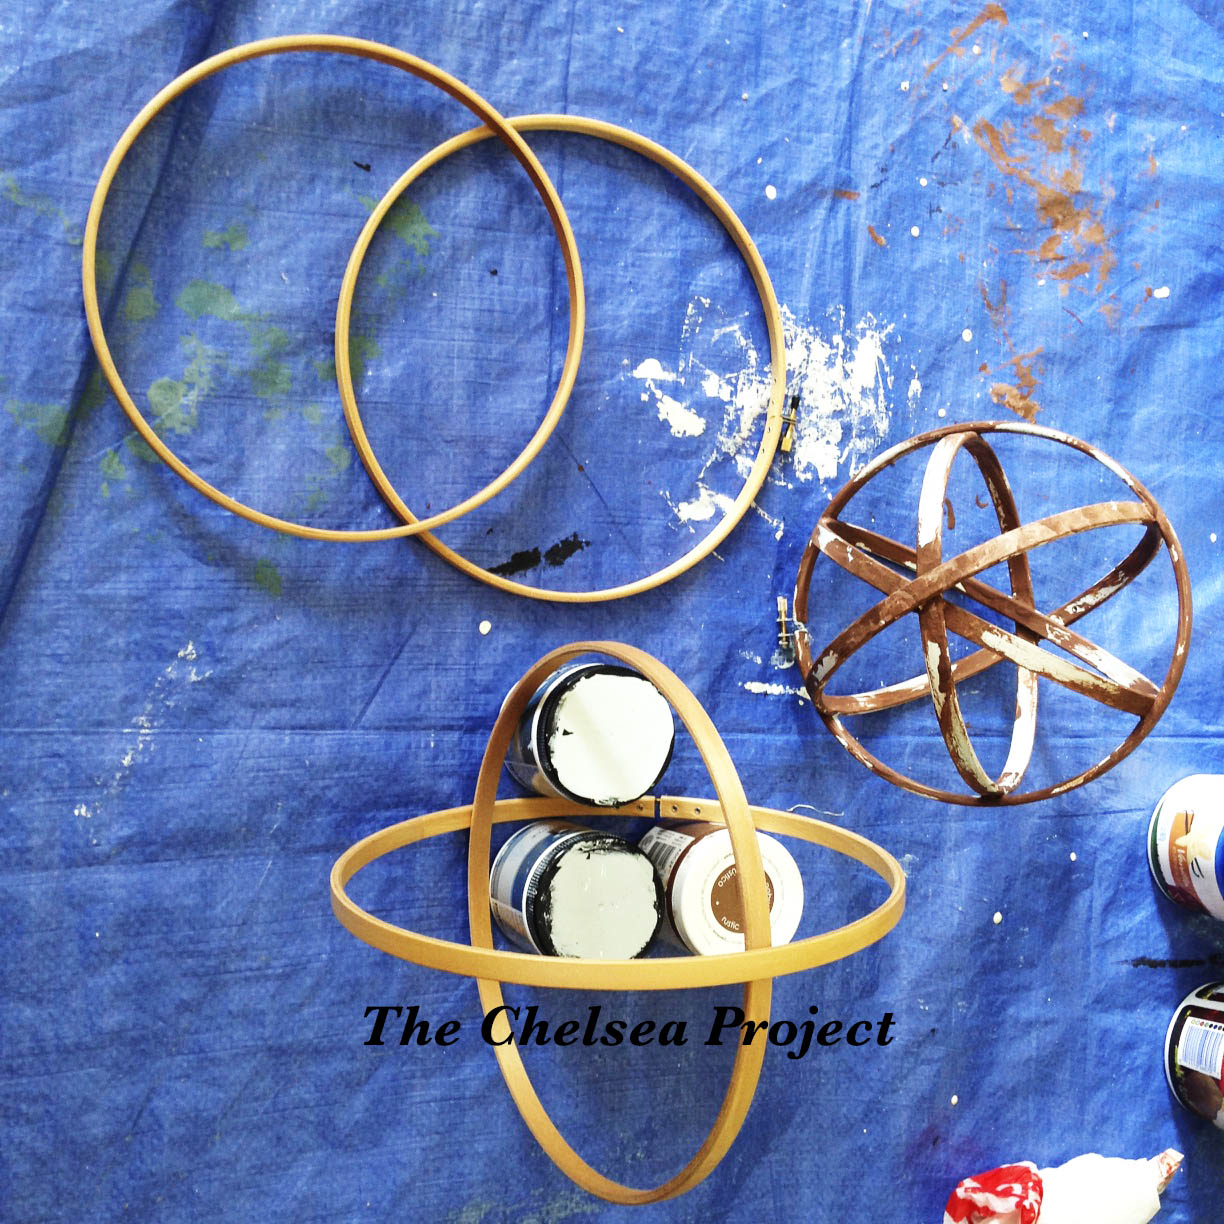
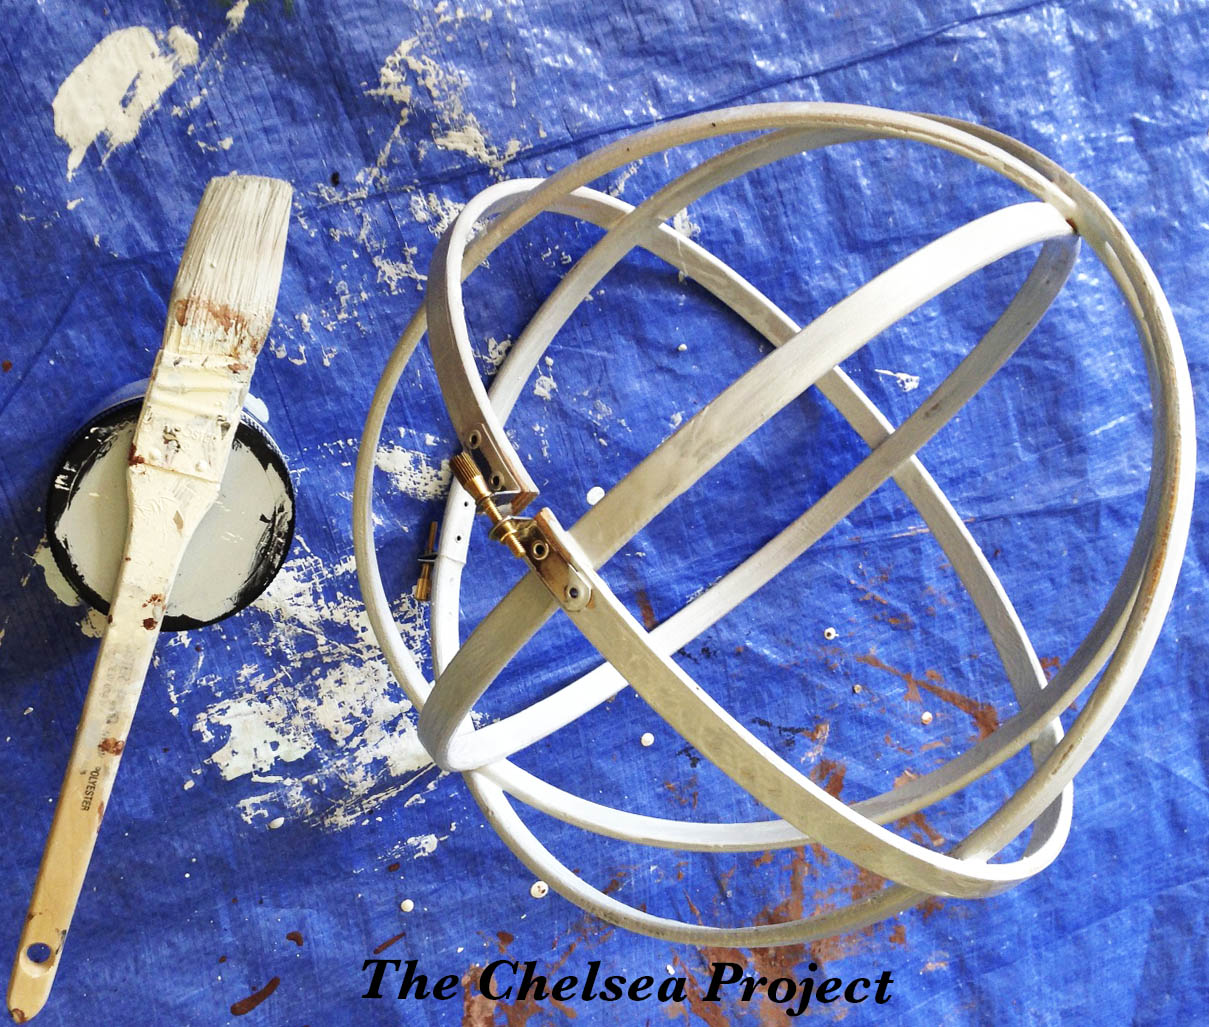
Step #1 – Buy two (same size) wooden embroidery hoops.
Step #2 – Take the inside hoop from one of the hoops and turn it to a 90-degree angle of its outer hoop.
Step #3 – Then take the inside hoop of the second hoop and insert it at 45-degree angles of the first inner hoop.
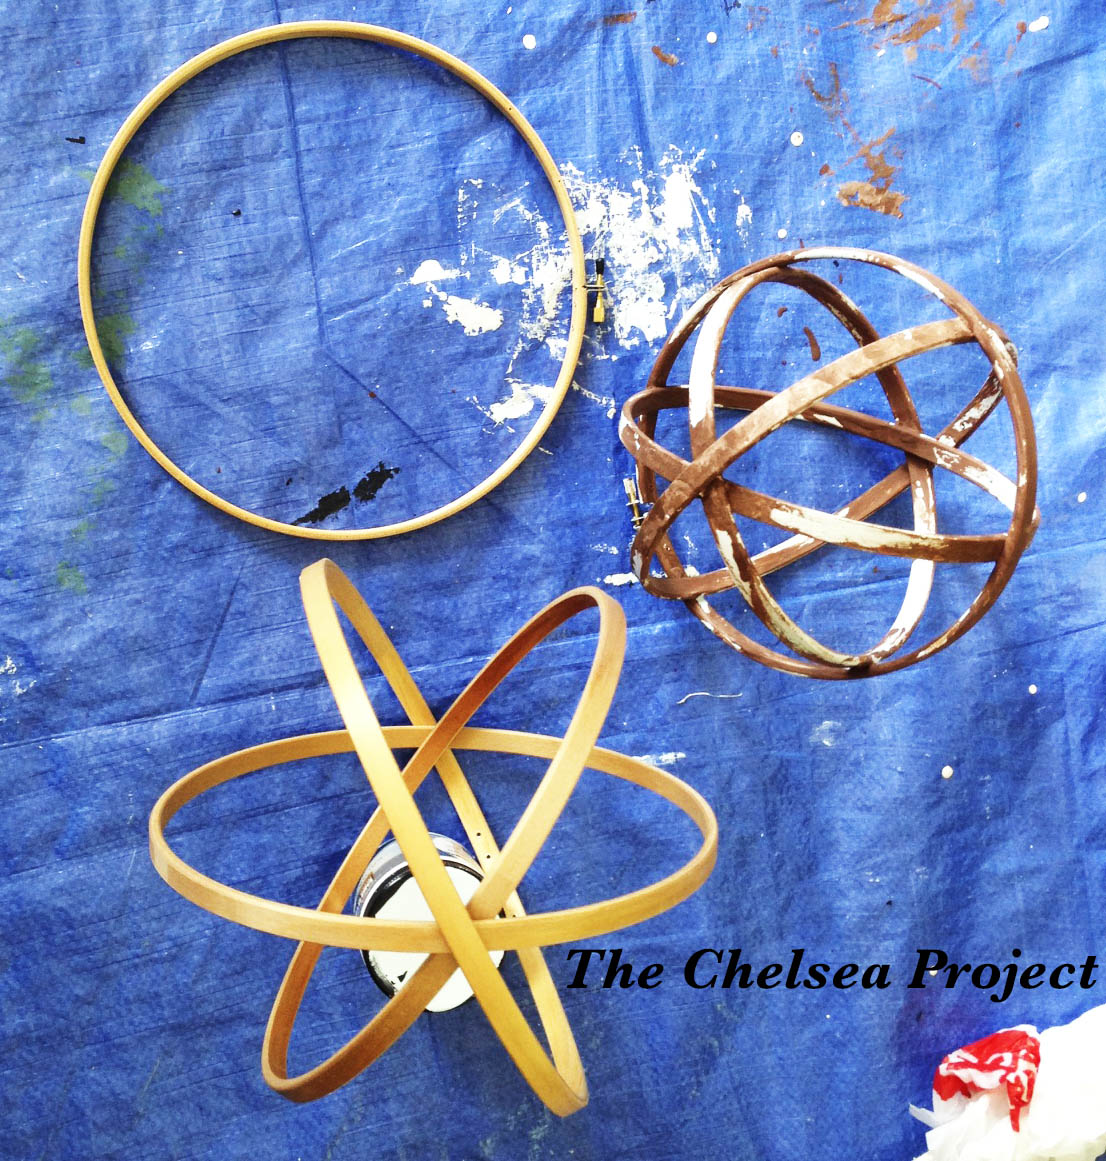
Step #4 – The outer part of the second hoop will be placed around the outer edges of the first three hoops. First, loosen the latch on the hoop, then slide it over the three-hooped orb. Once the this fourth hoop is centered, tighten the latch so that the orb holds together. I did not use glue or any kind of product to hold the assembly in place. The hoops really do fit snugly enough that this isn’t necessary unless you just want to secure them.
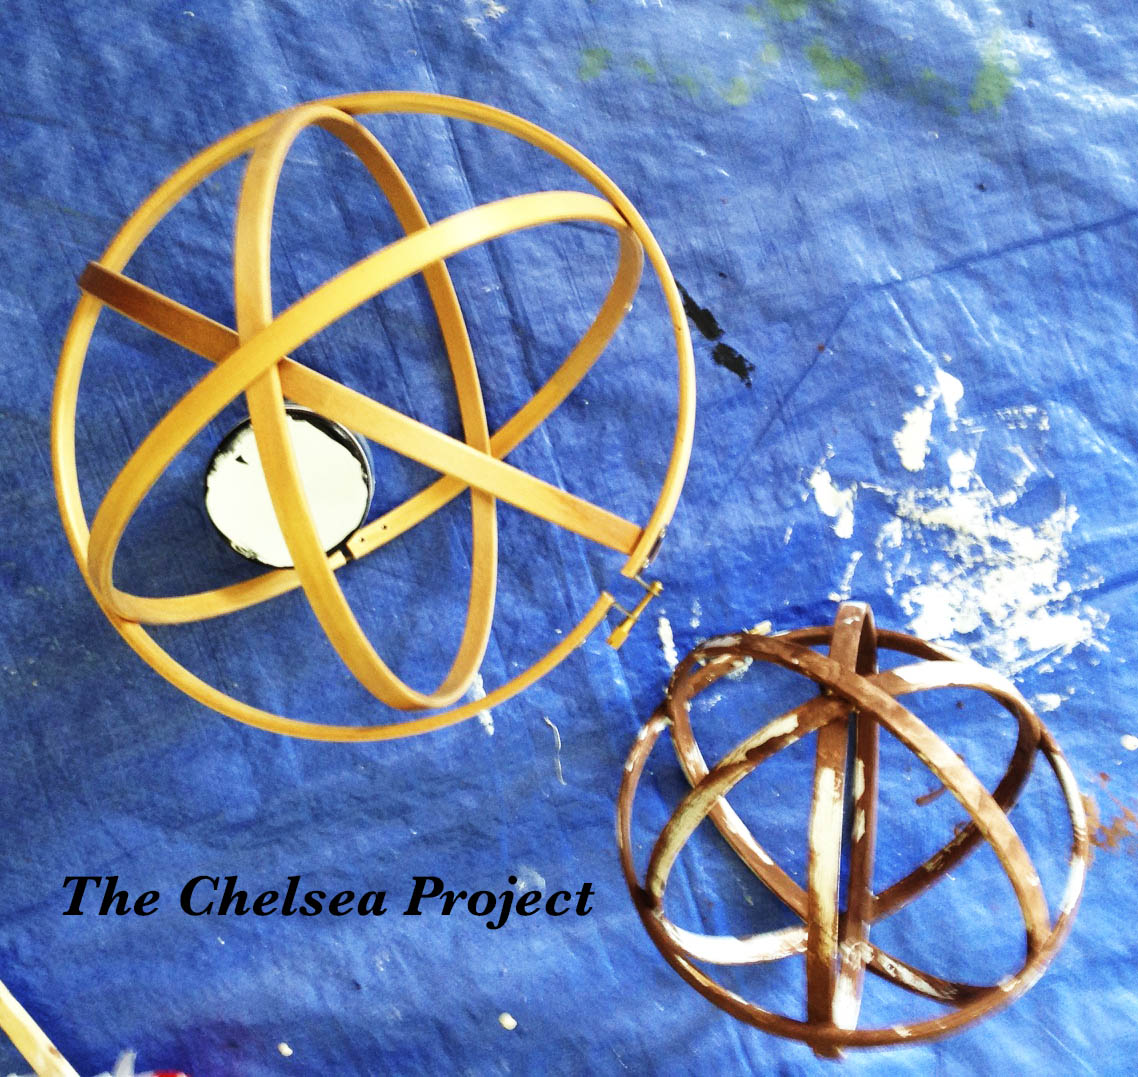
Step #5 – Paint the orb any color you like. Please note that the hoops can be painted or stained before assembling, but I wasn’t sure what color I wanted or exactly how they would be used, so I assembled, tried them in various places within the bookcase, and then painted them.
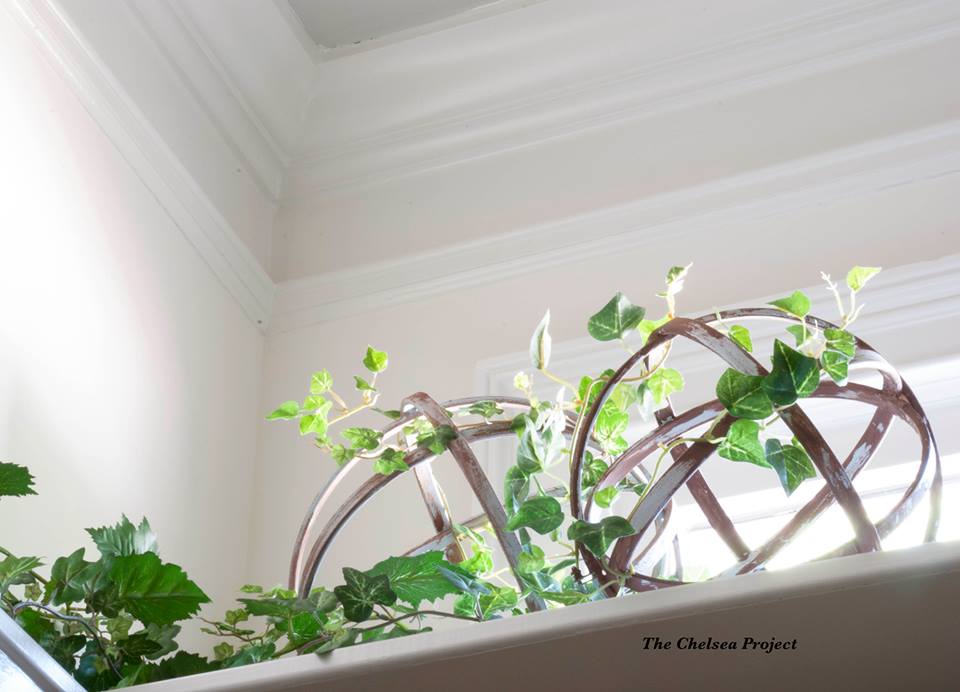
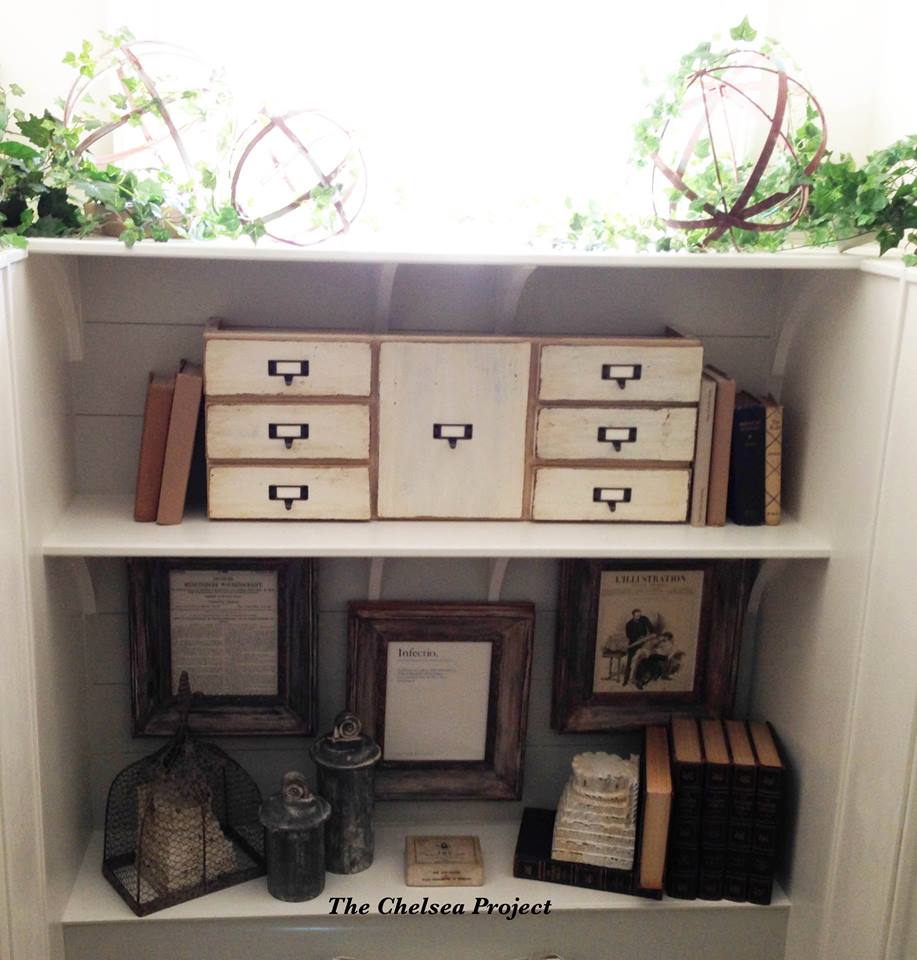
Step #6 – Place the completed orbs in the designated area. Enjoy!
The embroidery hoops shown in this tutorial were purchased at a local fabric store. With a 40% off coupon, each orb (using two hoops) costs about $7.00. The big orb on the right of the bookcase has a 12-inch diameter and was purchased as an orb at TJMaxx (about $13.00). The orbs I made were 8-inches and 10-inches in diameter, but I had a big space to fill.
You can buy a set of 6 – 10 inch hoops (with free Prime shipping) on Amazon here for only $15.71 .
Before deciding on the size, I tested the space using basketballs and soccer balls. I don’t know why I didn’t snap a picture, because it looked hilarious. LOL. But, doing this totally helped me determine the right sizes to use.
Then, if I had it to do over, I would check prices for Embroidery Hoops, especially those with free shipping, online. Depending on the size, some cost as low as $.99 per hoop.
As for the paint, I used three or four colors of latex Ooops paint from Home Depot that was turned into chalk paint using a powdered paint additive called Poppies Paint Powder. A product review is on my blog here. The paint was simply brushed on to make the orbs looked weathered and worn. I didn’t sand them. The distressed look comes from dry brushing the paint and/or skipping sections altogether.
And, that’s all there is to it. A little DIY that doesn’t require power tools. ……I think I’m in withdrawal!
Until next time,
May God bless you in all that you do,
Susie
