

Back in the day, my mom was one of the best seamstresses in the county. She would see Jacqueline Kennedy in an outfit on TV and copy it to a tee in just a day or two. I grew up hearing terms like sewing darts, matching plaids, and cutting-on-the-bias. Although I never really tried to follow in Mom’s footsteps, I did manage to learn my way around a machine and how to handle a needle and thread. I had to read lots of reviews like this Brother CS5055PRW Review before I was able to decide which machine to invest in, but I’m glad I did because I’m really happy with the one I have, and don’t have any trouble fixing it when something goes wrong.
 For me, sewing is primarily about making home and holiday accessories and doing a little light mending. If I can make/mend something with a simple straight stitch, then I’m good to go.
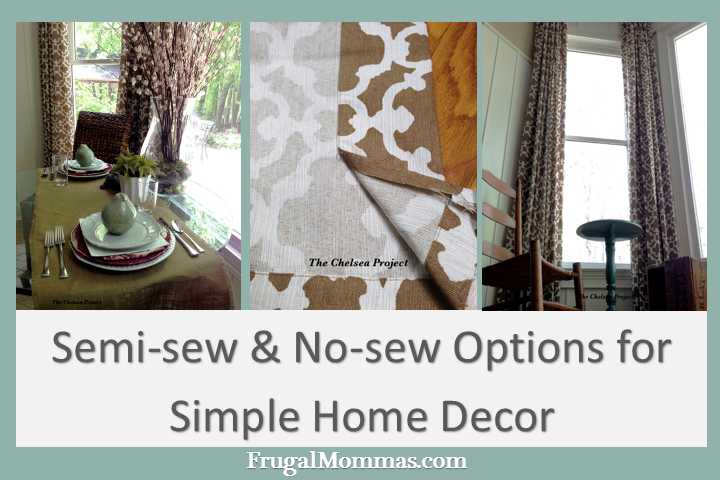
My approach to sewing is very much like my approach to home improvement. If there is an easier way, then why stick with old-school techniques. To this end, I try to rework projects that have sewing into some kind of semi-sew or no-sew.
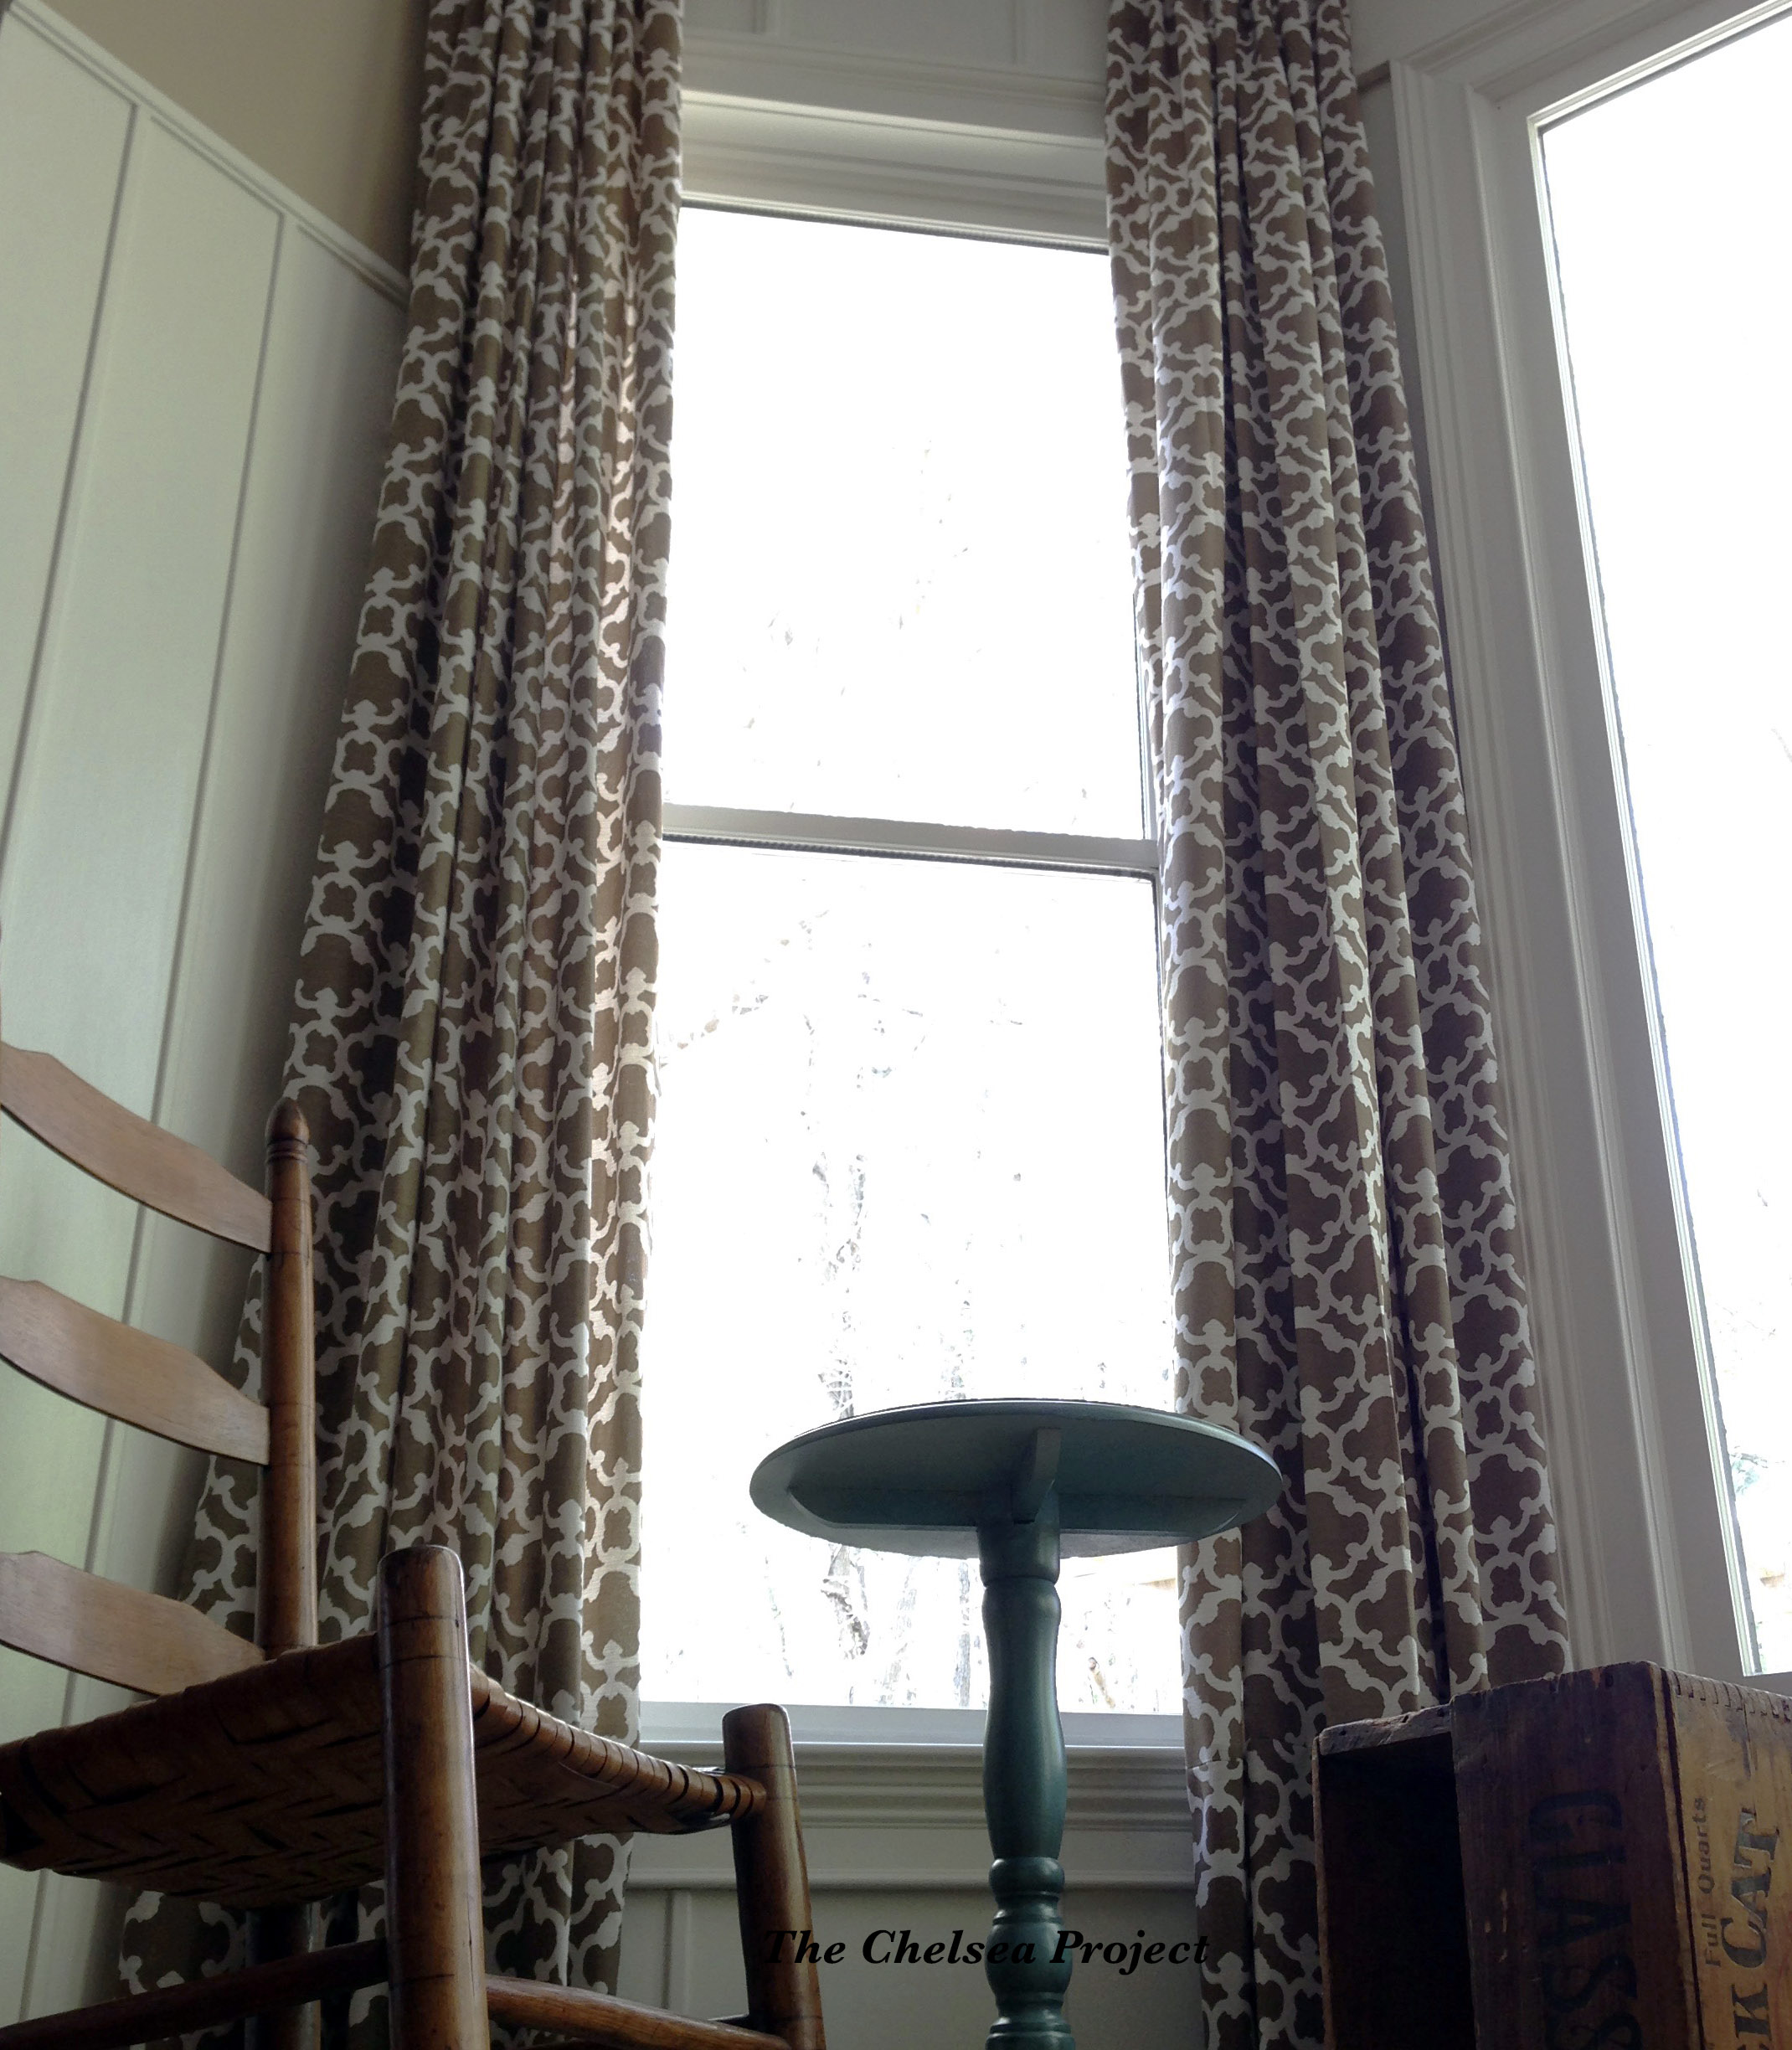
For example, the drapes in the eat-in area of the kitchen were sewn. However, more time was spent on explaining the no-sew method because I wanted the directions to be very clear. I also believe that more people will probably opt for the no-sew method.
Simple steps to get good results on this no-sew project – adding fabric to ready-made panels:
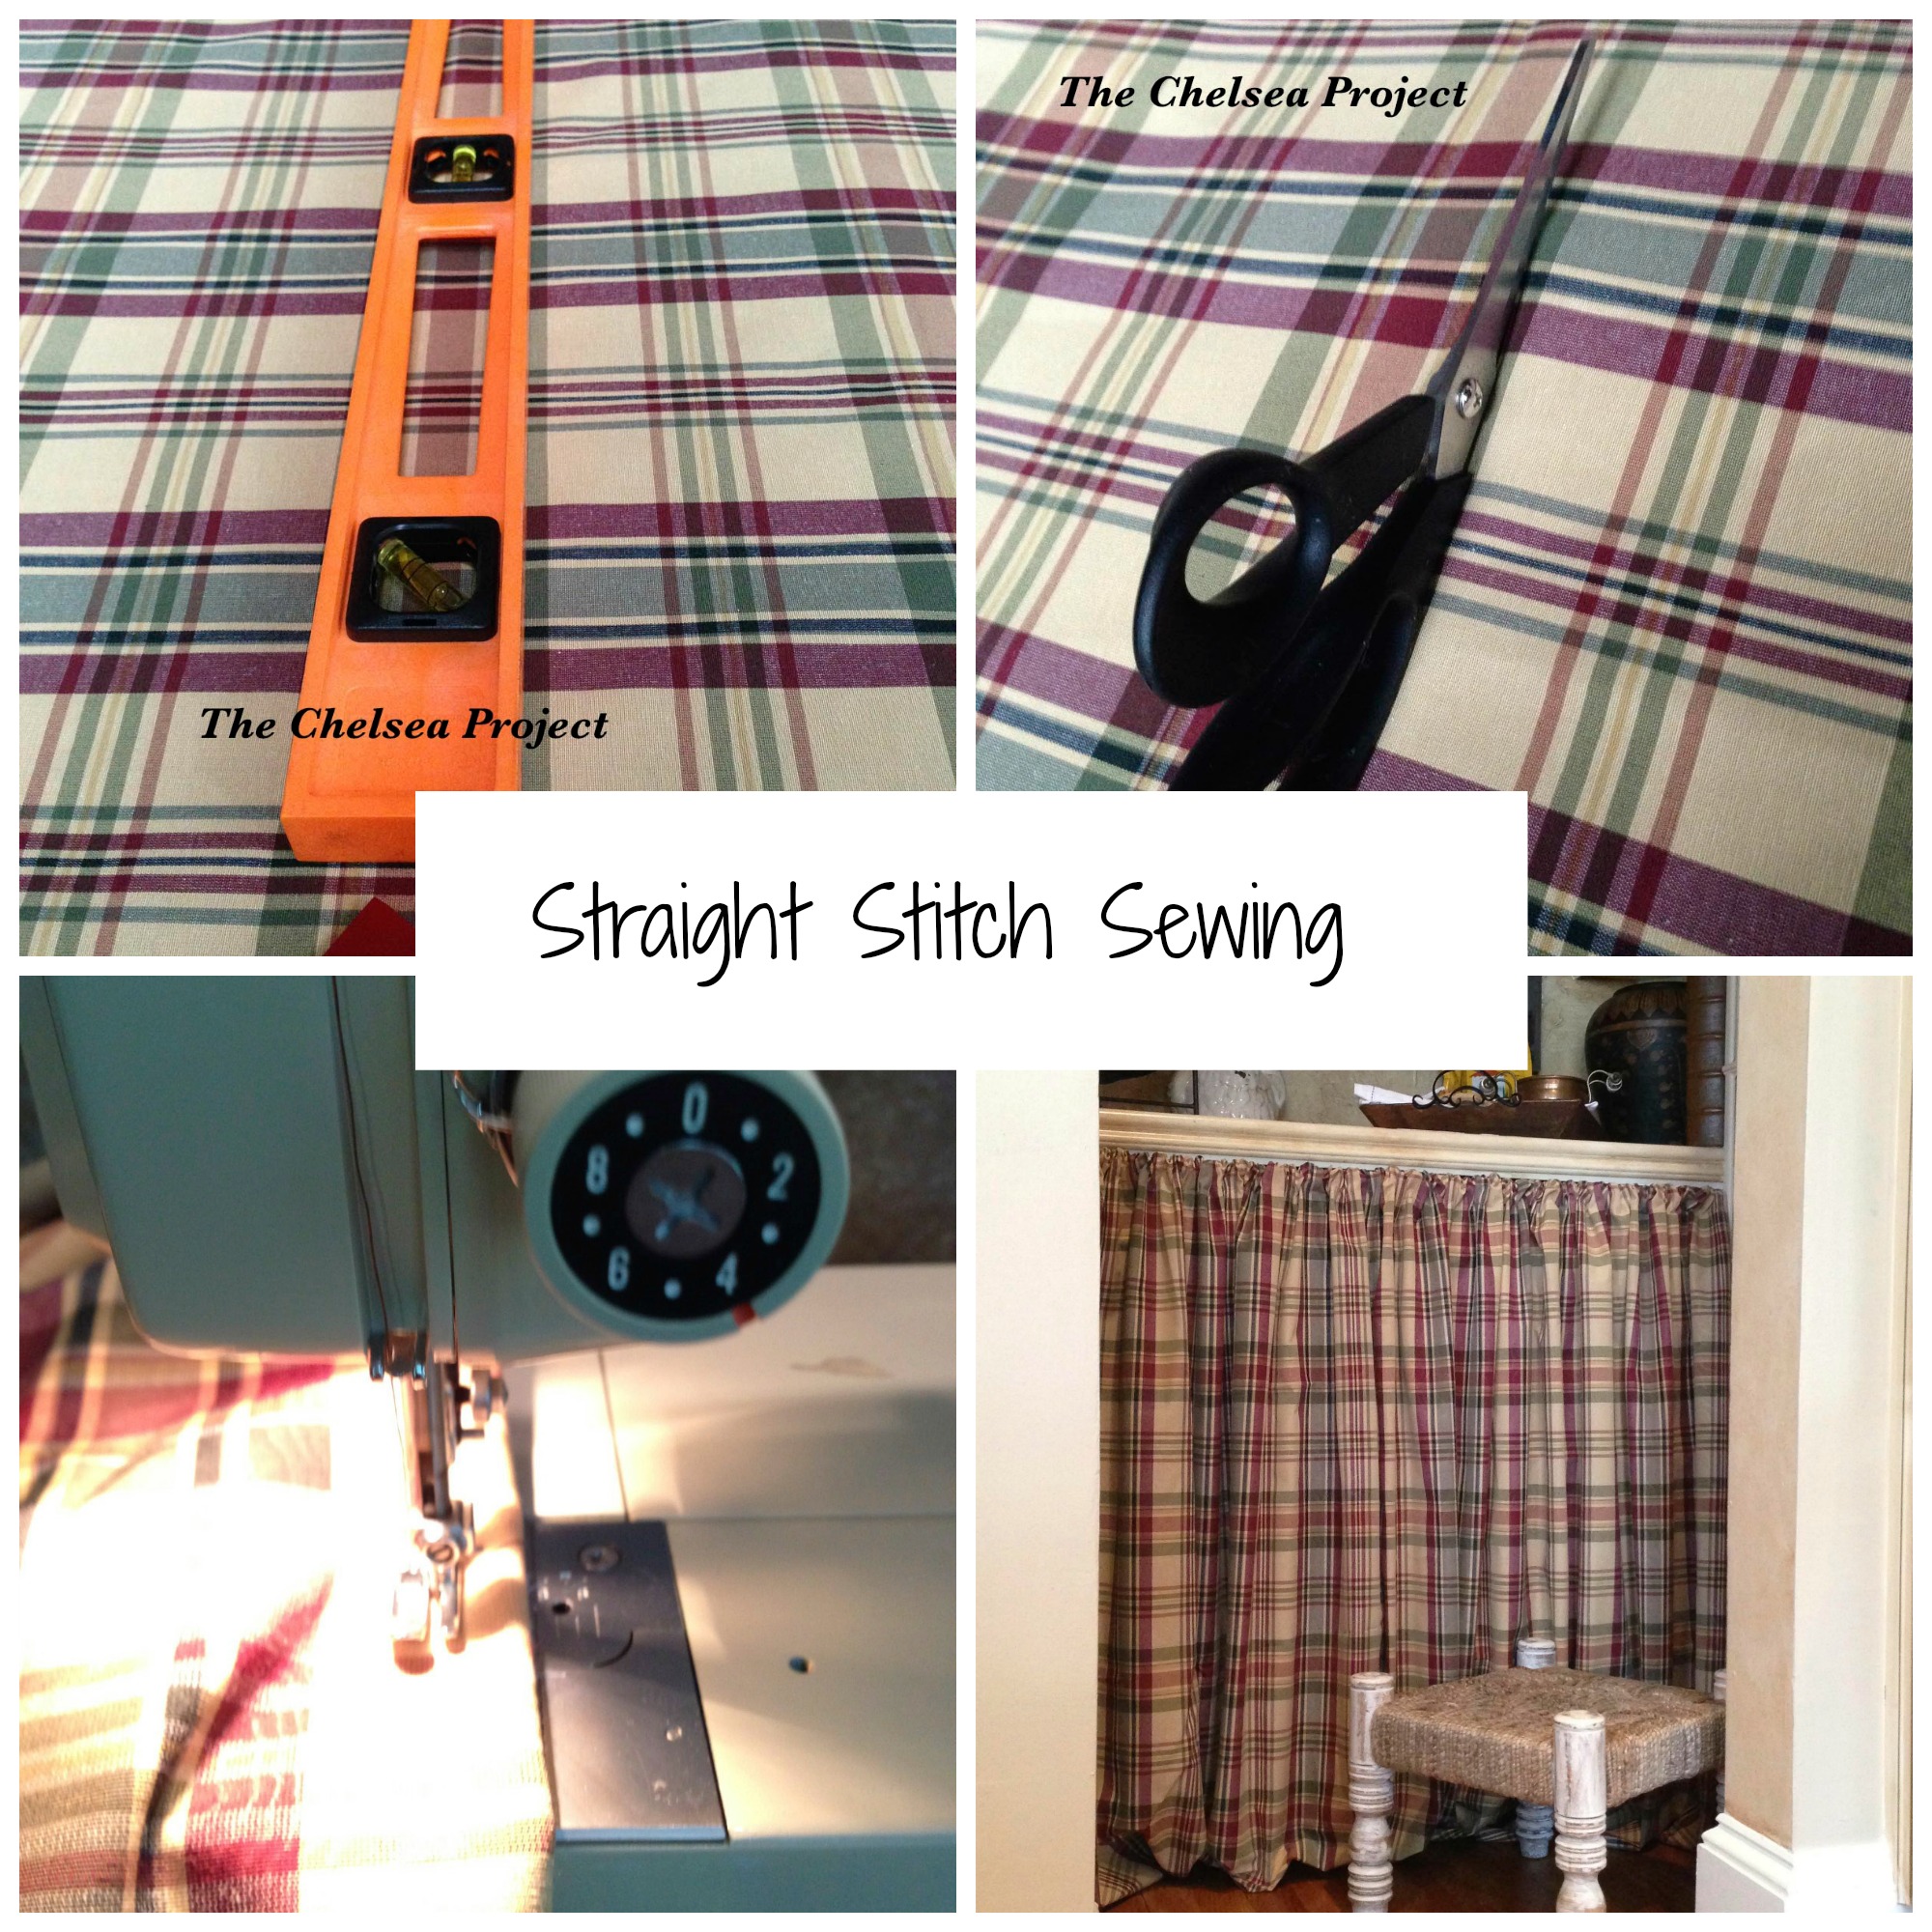
- Using a seam ripper, open up the hems on all three panels. It’s really easy, just pick up the thread and give it a yank.
- Press the wrinkles from all three panels. Then, let the panels cool and even dry if damp from the steam. Note: Before pressing, test a tiny spot in a corner to make sure that the fabric can be pressed without any damage. If it passes the test, iron away, but always on the wrong side.
- Trim away any raveling threads. If the fabric continues to ravel, trim the edges with pinking shears or apply a product called Fray-Not (…but please test first… in a non-visible spot).
- Lay two of the panels out and remeasure the length. Then figure how much fabric needs to be added to provide a finished length of 108 inches.
- Cut the fabric that’s to be added to the main panel and sew the pieces together using a 5/8 inch seam. If sewing isn’t your thing, bond the two pieces together using iron-on fusible bonding tape.
Sometimes, the fabric alone will allow a no-sew method. For example, this table runner (below) is cut to size from burlap and frayed on the ends.
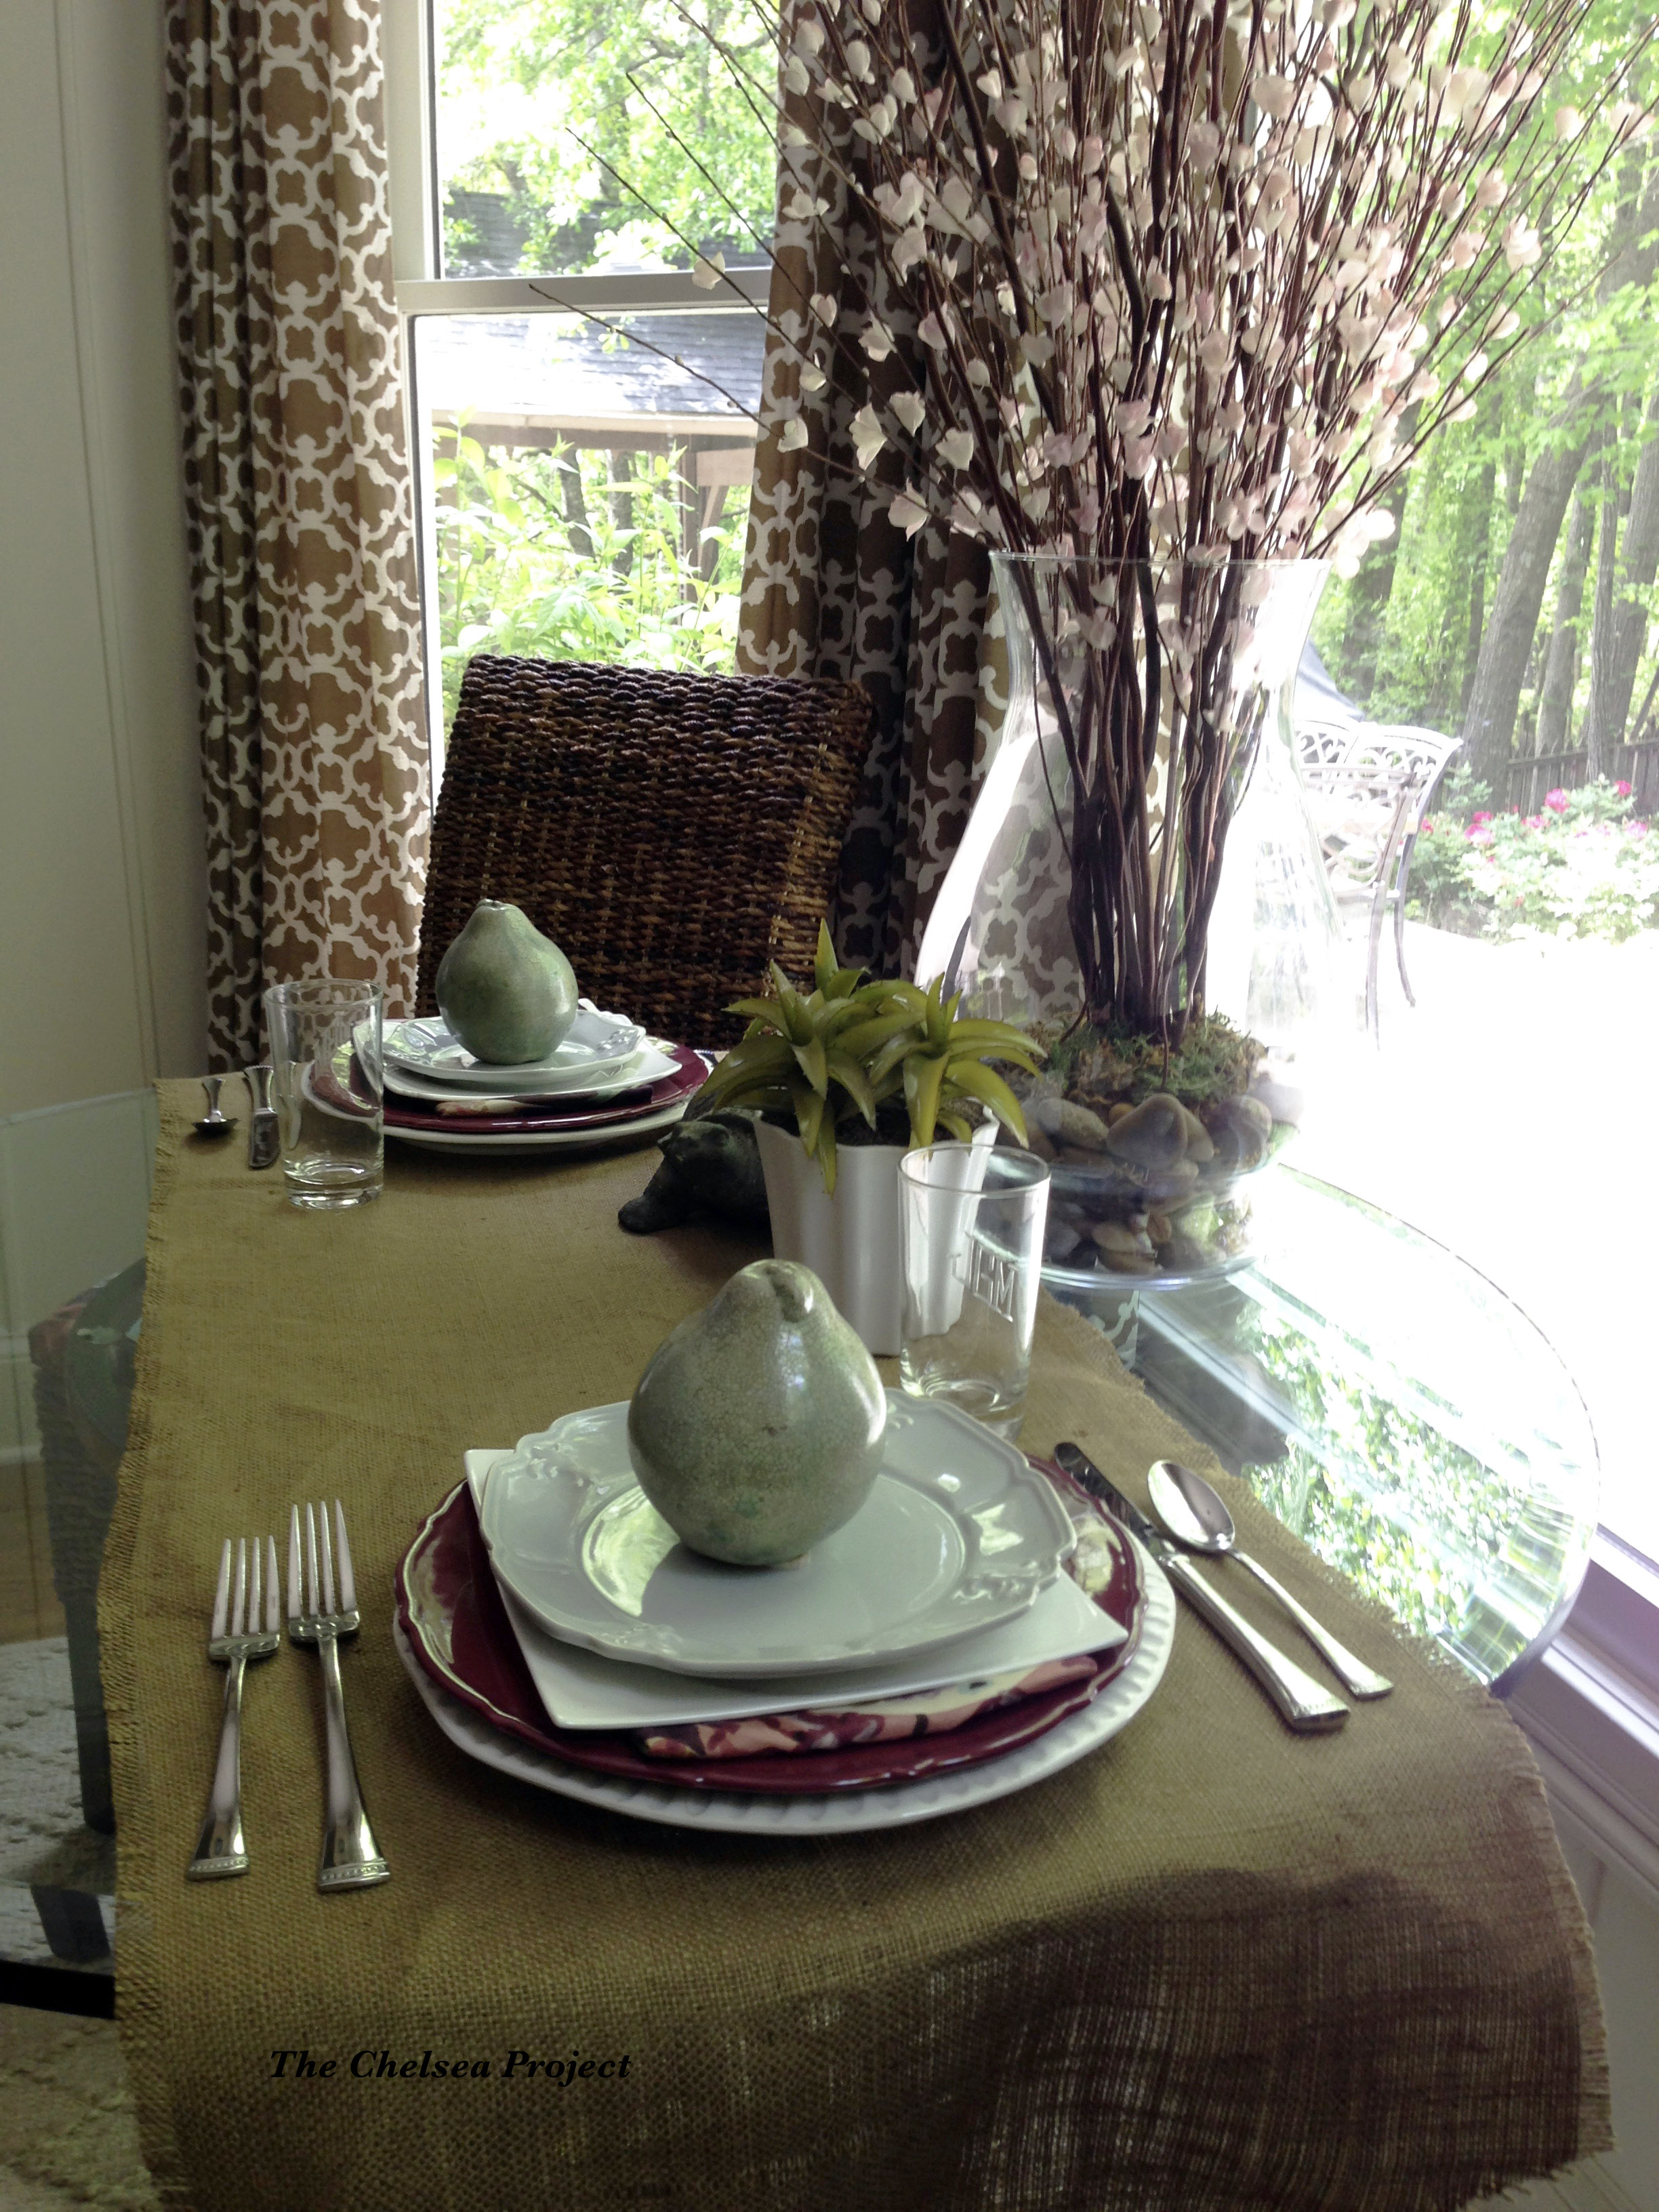 Not one stitch or inch of fusible bonding can be found.
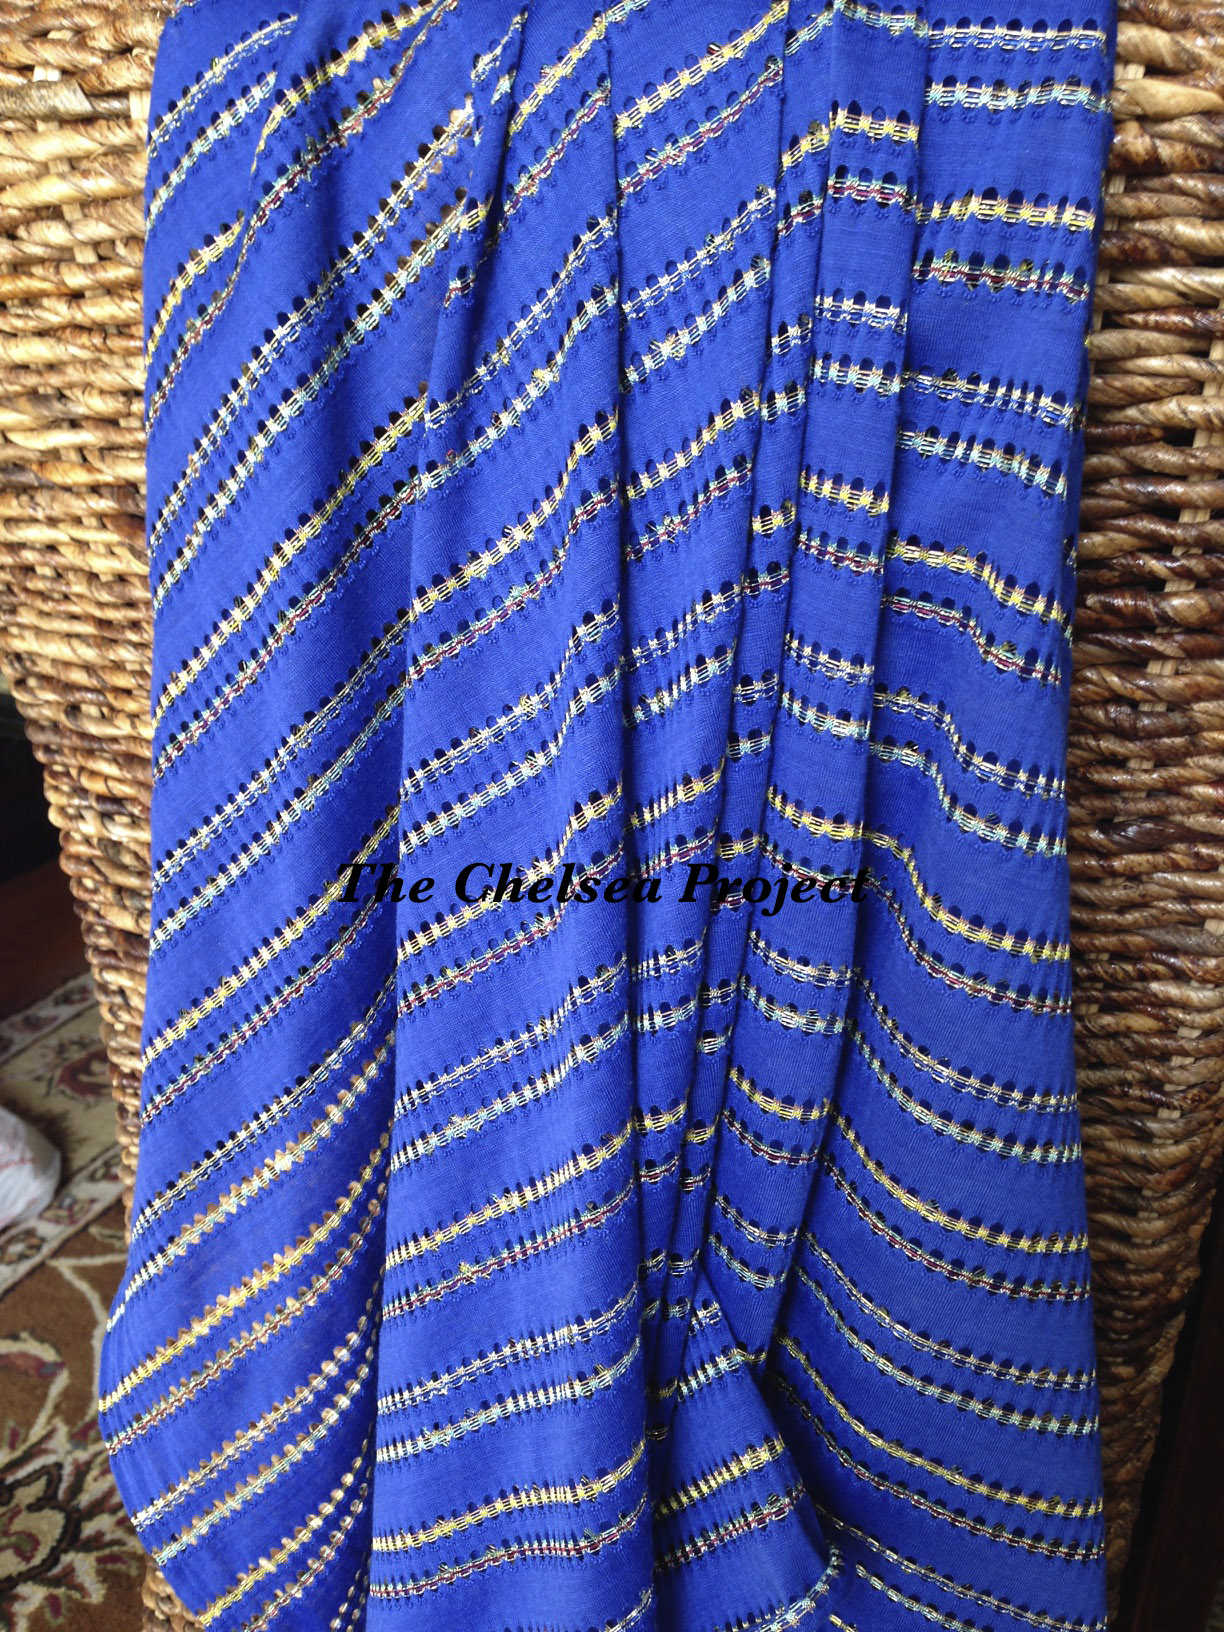
To this point, any ideas on what to do with this piece of blue fabric? One option will be posted soon. *I know! I’m Such a tease*
And, let me just say that the totally “no-sew” garment (hint) will be awesome for summer at the pool or beach.
I hope you will stayed tuned for this idea and more. You can also find me pinning sew and no-sew ideas on my board called Sew and No-Sew .
Until next time,
Happy sewing,
Suz
Get detailed information on how to measure, do the math, planning before your trip to the store & more from The Chelsea Project “How to Get A Custom Drapery Look from Ready-Made Panels” – visit regularly for more tips from our talented DIY Expert – Susie. Her philosophy is that with a little elbow grease, we can ALL be DIY experts!
Have you accomplished any DIY projects lately? Feel free to ask questions and Susie will do her best to help!